

A huge box arrived today! It’s thoughtfully packed full of hardware for getting going with Axelera.
The most interesting bit of course is the compact (131 x 120 mm) Axelera M.2 Eval System (PDF Product Brief). The Eval System contains the Metis AI Inference Acceleration Card on top of a standard single-board computer (SBC). You can run the Metis Acceleration Card using standard interfaces (PCIe via an M.2 hardware socket), therefore you can use legacy SBCs with M.2 that you may already have deployed, as well as new compute hardware, depending on needs.
The Metis M.2 Eval System SBC uses a Rockchip RK3588 (PDF datasheet) system-on-chip (SoC). Internally, the RK3588 contains two quad-core Cortex-A series processors plus a GPU, and lots of useful interfaces including the required PCIe.

The board supports built-in storage (eMMC) pre-installed with Ubuntu 22.04 and for additional storage there’s a micro SD card slot, as well as an M.2 socket (M-Key) for inserting an optional solid-state drive (SSD).
In terms of network connectivity, the board contains two Gigabit Ethernet sockets, but you can also attach a WiFi/Bluetooth adapter (M.2 E-Key) if desired.
The key component that we are all interested in however is the Axelera Metis AI Inference Acceleration Card!

I didn’t take it apart, since there’s a photo on the Axelera website showing the detail.
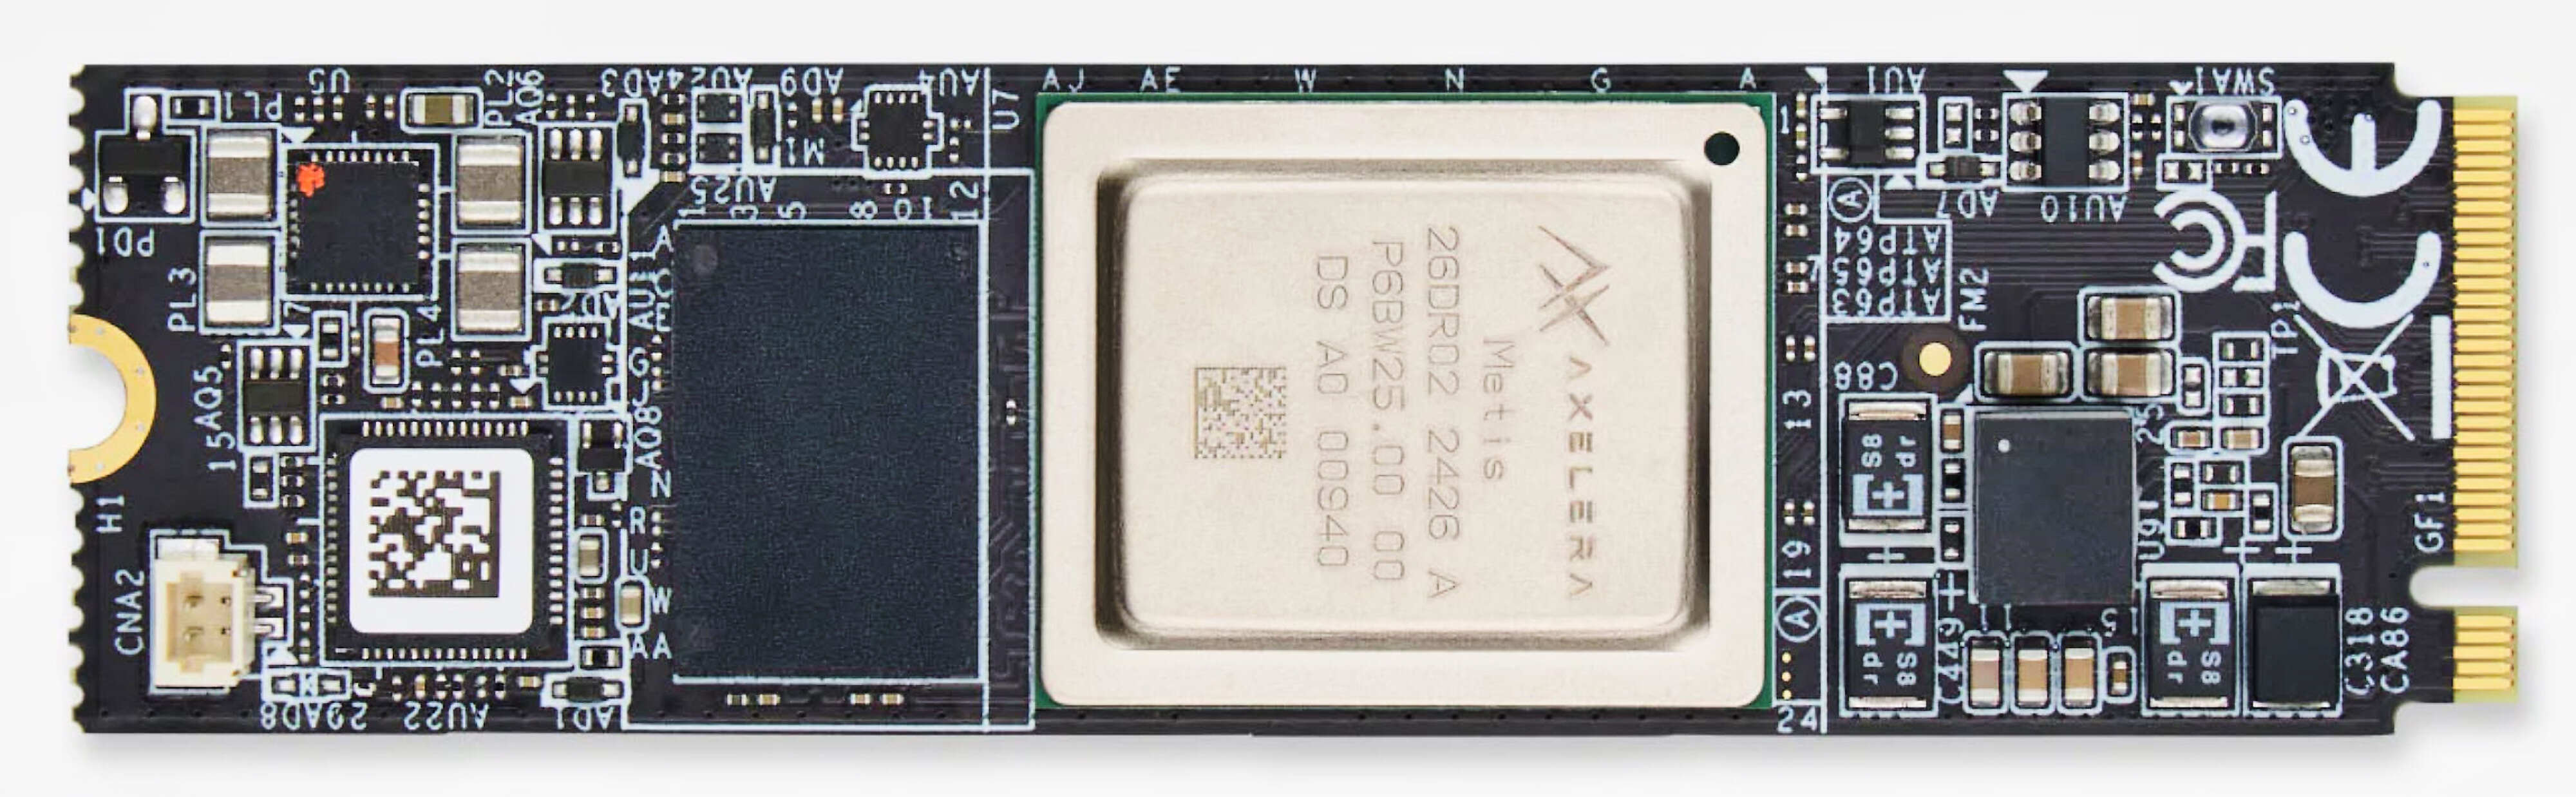
(Image source: Axelera)
The M.2 card contains the Metis AI Processing Unit (AIPU) which interfaces over PCIe to the RK3588 SoC, and it also contains its own 1 GB of RAM.
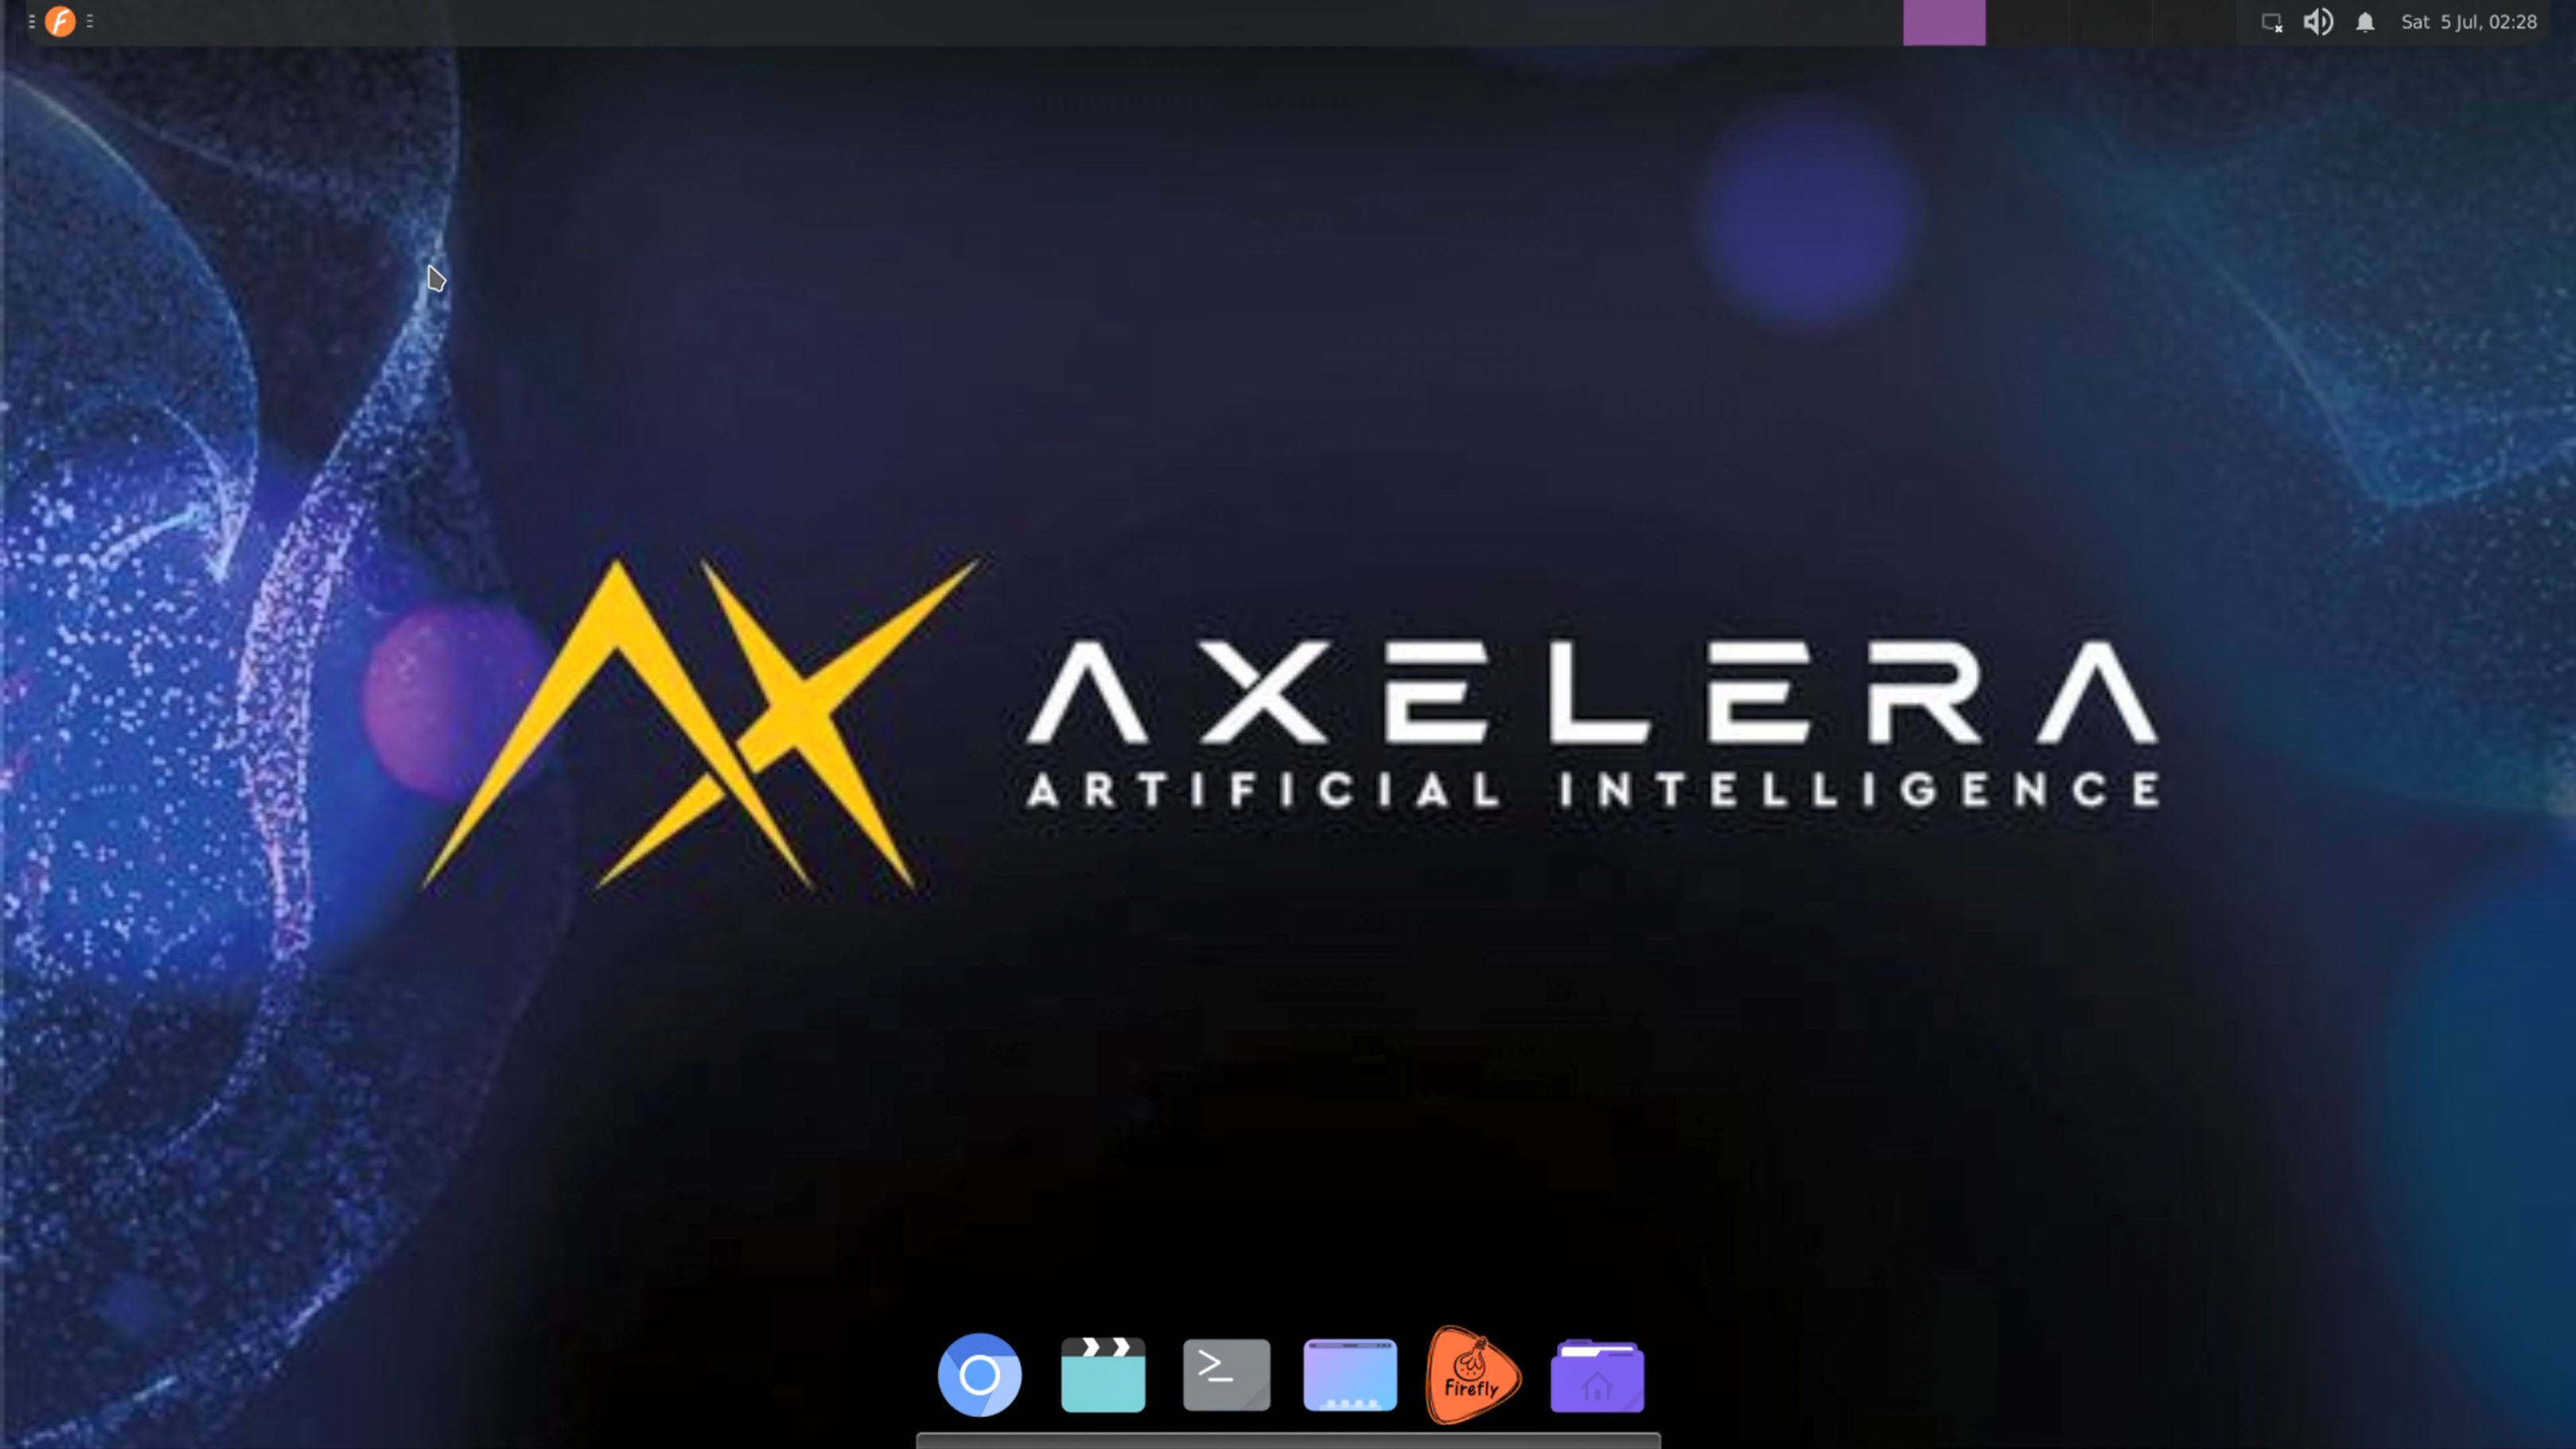
I plugged in a HDMI cable, and the supplied 12V power brick, and the kit started up almost immediately! You could optionally insert an Ethernet cable too, just in case you need to download anything via the Internet.
If you’ve obtained a Metis Eval System and are keen to get moving forward with it, then I’d recommend a simple USB keyboard/trackpad combo (I used a Logitech K400 Plus) and a HDMI cable, and an Ethernet cable, at least for making the initial setup easy, and then later you can disconnect those items if you don’t need them.
Connecting to a Wireless Network
The bundle of hardware Axelera kindly sent me contained a TP-Link 2.4. GHz Wireless LAN (WLAN) WiFi USB Adapter, model TL-WN725N. To get it going, I needed to build and install a driver. I’ve written up the steps at this RTL8188EUS Driver GitHub repository.
Once you follow those steps (let me know if you have any issues with that, and I’ll try to help) you should be connected to a 2.4 GHz WLAN.
I’ll explore more in the coming days.
Thanks for reading!
 )
)